
For more information on the benefits of placenta encapsulation and why many women choose this option (or perhaps to learn of the benefits for yourself) please visit: http://placentabenefits.info/about.asp
What you need:
*Dissection kit (surgical scissors, scalpel, tweezers)
*Sterile Gloves
*Strainer
*Large Pot
*Baking tray
*Oven/dehydrator
You must only use these items for placenta encapsulation. If you're doing this regularly, you need to make sure you have a separate baking tray only for placentas, a separate pot only for placentas, a separate strainer...you get it.
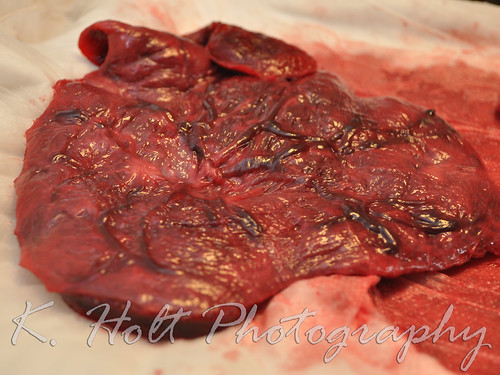
STEP 1:
Wipe placenta clean with gauze or cloth, removing as much blood/debris as possible.

STEP 2:
Remove membrane (sac) with scissors, following the margin of the placenta.
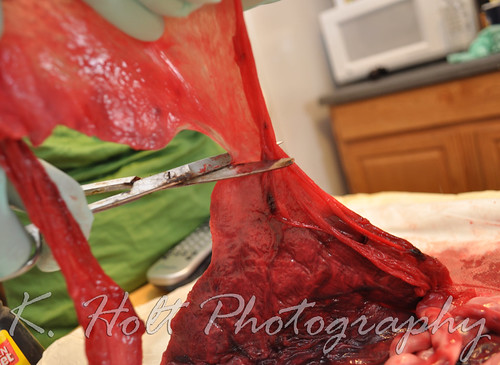
-Puncture hole in membrane with sharp point of scissors and follow along placenta's edge, removing as much as possible. You can try to remove the membrane from the fetal side of the placenta as well.
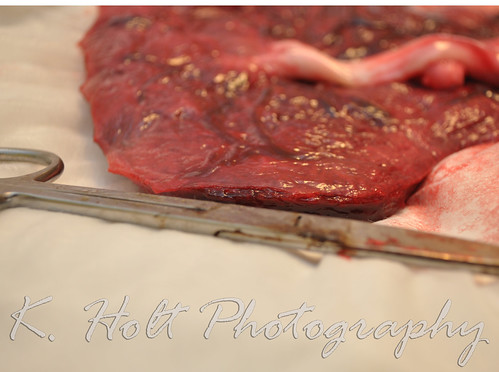
STEP 3:
Using scissors, remove cord at base.
STEP 4:
Fill pot about 1/2 way with water so that strainer can sit above water level, floating freely without touching the water.
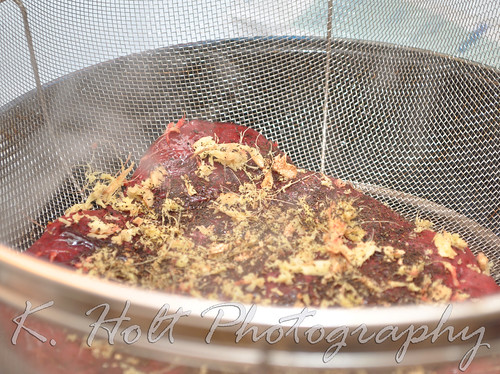
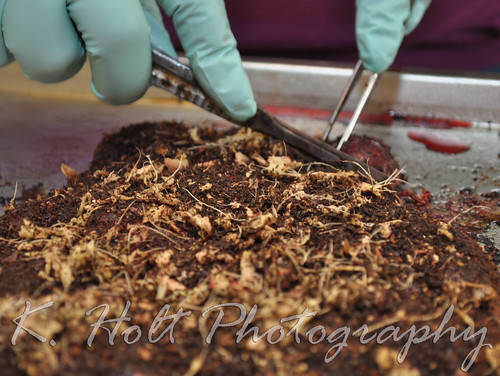
-Grate fresh ginger over placenta, covering lightly.
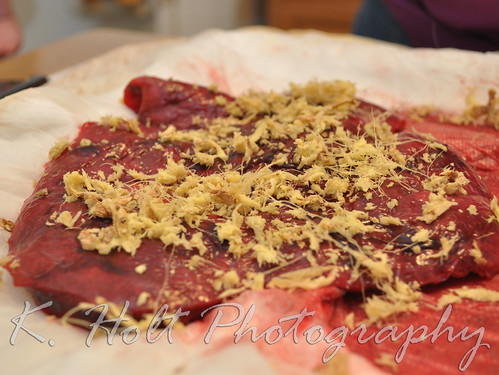
-Pour ground tea (chai is good, vanilla chai smells heavenly) over placenta, 3-5 bags depending on size.
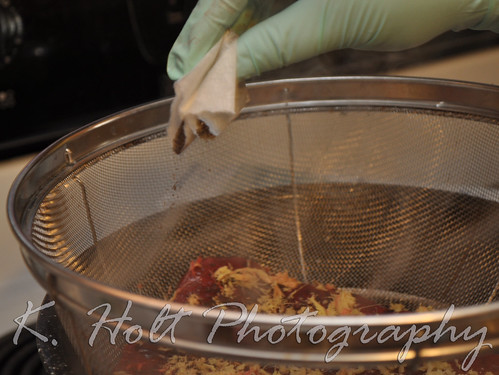
-squirt with lemon.
STEP 5:
Place placenta in strainer over water, remember water should not touch placenta.
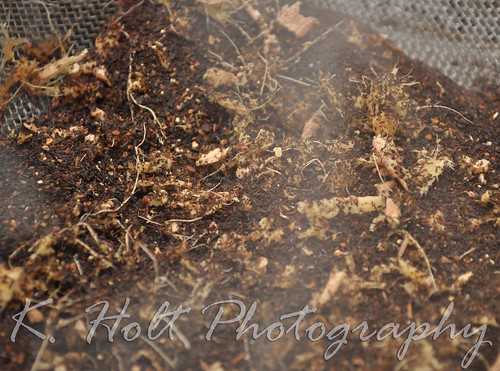
STEP 6:
Once boiling, let steam for 20 minutes, placenta will shrink.

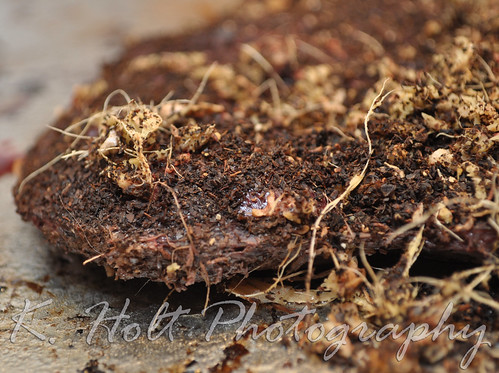
STEP 7:
Remove steamed placenta from strainer and place on non-stick baking tray.
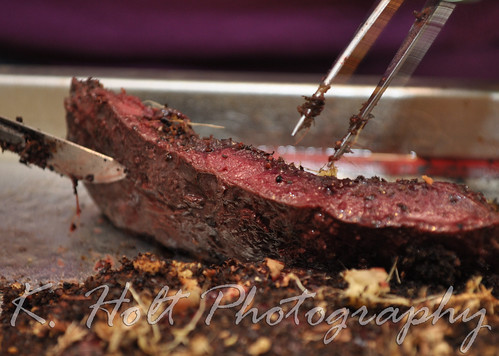
STEP 8:
With scalpel and tweezers, cut into even strips.
STEP 9:
Arrange evenly on tray to allow air flow.

STEP 10:
Place in oven 200-225 degrees and bake for 8-10 hours.
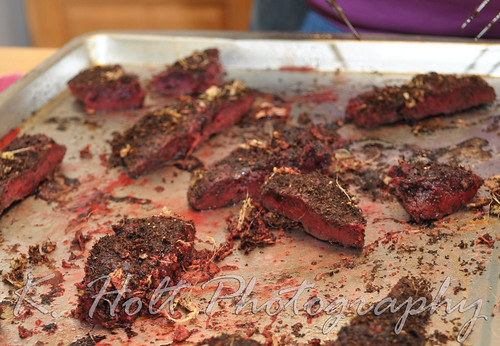
Pieces should be completely dry, black and not at all rubbery.
***Phase 2 tomorrow!***
This process has been not only fun but VERY informational. The placenta is an AMAZING organ. Something that only begins to grow as life begins and continues to grow with your baby, providing nourishment during your pregnancy. How awesome that it's amazing benefits don't end there? I hope you enjoyed what I've shared so far today and look forward to the rest of the process and sharing that with you tomorrow.
Please post any questions or discussion below.


1 comment:
Love it!
Post a Comment