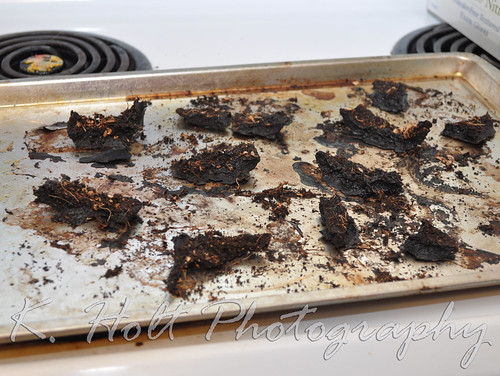
STEP 11:
After removing the placenta from the oven and letting cool, break larger pieces by snapping them. Pieces should be about 3/4 in.
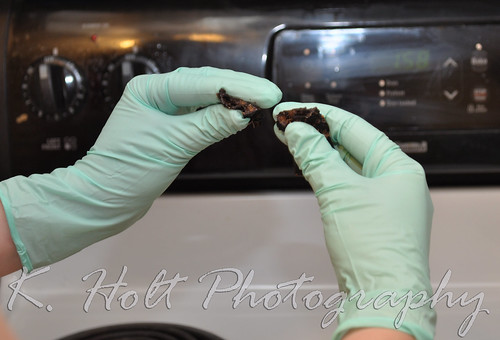

STEP 12:
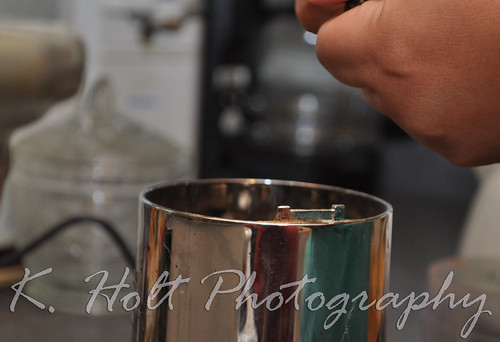
Place pieces in grinder (Mr. Coffee works great, but remember, you must only use this grinder for placentas so you'll need one separate from your "regular" coffee grinder). Note that some pieces may not grind down. Larger calcifications or clusters of hardened vessels will simply stay intact, that's ok. Just discard this larger chunks.
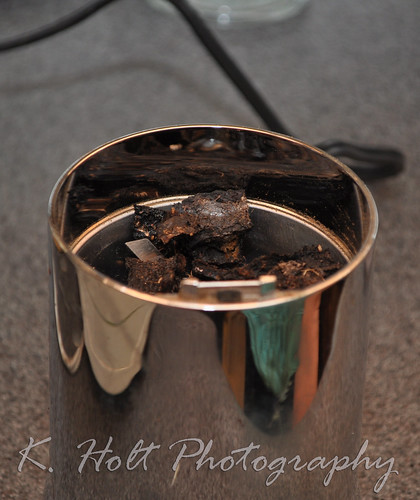
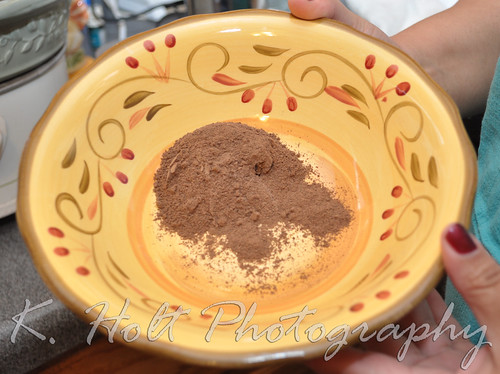
Your ground placenta should look like this:

STEP 13:
Pour all the ground placenta into a bowl or onto a deep plate.
STEP 14:

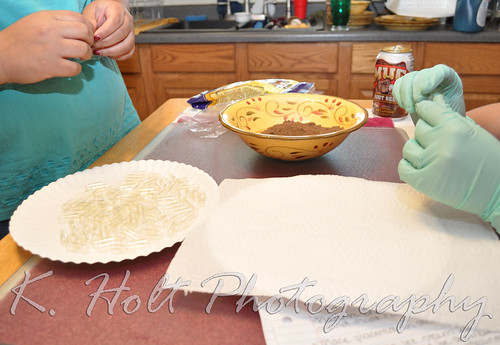
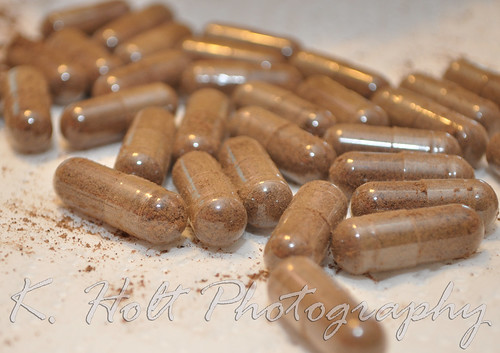
Take the two parts of your capsules (we used organic vegetarian gelatin capsules, sizes 0 and 00. 0 seemed to work best for me and is a little smaller.) and scoop them towards each other in the freshly ground powder, making sure to seal tightly. Place in "resting place" on paper towel.
STEP 15:
Discard any excess capsules that came in contact with the powder as well as any excess powder that you couldn't encapsulate.

STEP 16:
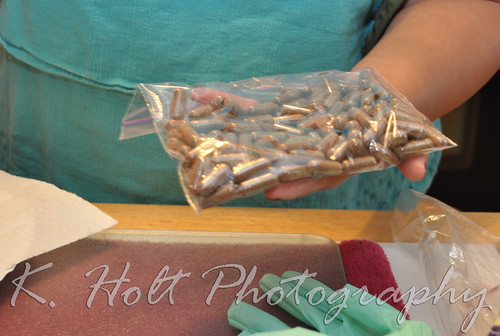
Wipe down the pills to remove any loose powder, grooved paper towels work great. Then place in jar/bottle/bag to give to mama. Store in fridge or freezer.
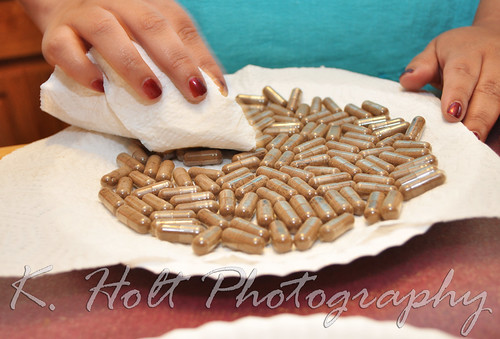
We were able to yield 122 good size capsules from this placenta. Mom takes about 3 tablets 2-3 times daily for general use or up to 8 a day if using to stave off post partum depression.
A huge thank you to the lovely Jessica J. for teaching Doula Faye and myself this art of placenta encapsulating. I am happy to offer this service to anyone who might be interested and we'd love to spread the knowledge, know-how and fun of this ancient art.






2 comments:
I did this, so those photos look pretty familiar, lol! My husband thought the placenta smelled like liver.
That's great! Did you do it much differently? Ours didn't smell like anything but chai tea lol!
Post a Comment